We’ve all been there. You take a beautiful high-res photo, try to upload it somewhere, and—bam—it's way too big. Maybe your webpage crawls, your email gets rejected, or your phone keeps yelling about storage space.
The good news? You don’t have to sacrifice visual quality just to shrink that file down. Modern online tools can reduce image sizes significantly while keeping your pictures looking crisp and clear. Here’s exactly how to compress image size online without losing quality in 2026.
Why Online Image Compression Matters
Images are the heaviest assets on most webpages. A single uncompressed photo can add several megabytes to your page load time, and slow pages directly hurt your search rankings and user experience. According to a 2026 benchmark study, an unoptimized hero image alone can add 3–5MB to your page load—enough to send visitors running [7†L3-L5].
When you compress an image the right way, you’re not just saving storage space. You’re also:
- Speeding up your website – Smaller files load faster
- Improving your SEO – Google cares about page speed
- Reducing bandwidth usage – Lower hosting costs, better scalability
- Making mobile users happy – Slow mobile connections need smaller assets [6†L15-L28]
What “Without Losing Quality” Actually Means
Here’s a common misunderstanding: compressing an image doesn’t have to make it look worse. Modern compression focuses on removing unnecessary data that doesn’t affect how the image looks to the human eye [6†L30-L34].
You’ll run into two types of compression:
- Lossless compression – Removes zero visual information. The image stays identical to the original, just repackaged more efficiently.
- Lossy compression – Discards some non-essential data. But good algorithms do this so cleverly that you’ll never notice the difference in normal viewing [6†L36-L41].
In a 2026 benchmark testing 100 real images across 10 tools, everything compressed at 80% quality scored above 65 on SSIMULACRA 2—a rigorous perceptual quality metric—meaning virtually no visible quality loss for web use [8†L10-L11][8†L19-L20]. On average, that got a file size reduction of 67% [8†L7-L8].
So yes, you can have your cake and eat it too.
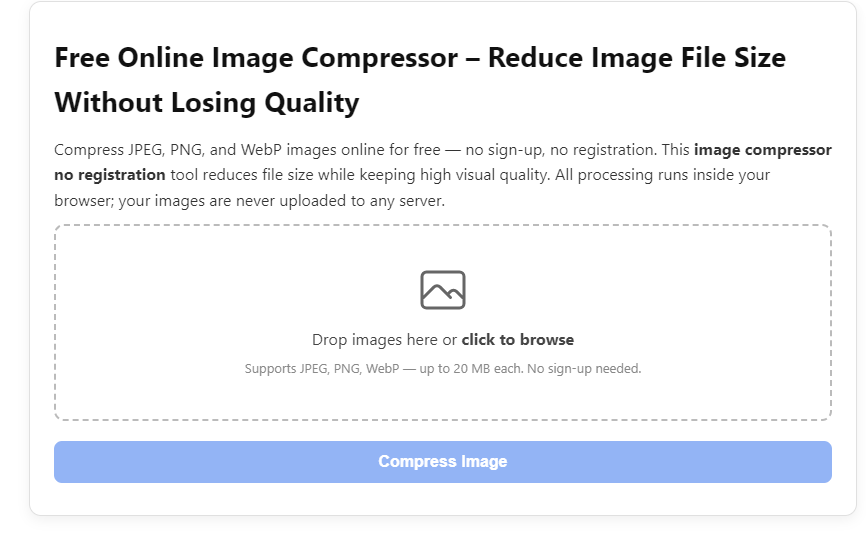
Step-by-Step: How to Compress Image Size Online Without Losing Quality
Let me walk you through the process using three of the best free tools available right now. Pick whichever fits your workflow.
Using Tinify (HSAAA.COM) – The Simplest Option
TinyPNG has been around forever, and for good reason—it just works. Here’s how to compress image size online without losing quality using their tool:
Step 1: Go to hsaaa.com
Step 2: Drag and drop your images into the upload area. The tool supports JPEG, PNG, WebP, AVIF, and even JPEG XL [6†L50-L51].
Step 3: Wait about three seconds. The tool automatically applies smart compression, removing unnecessary data while preserving visual quality.
Step 4: Download your compressed files. That’s it.
*What to expect: TinyPNG typically delivers 60–80% file size reduction with no manual settings. In benchmark tests, it achieved 68% average reduction at quality 72.1, making it the most consistent automatic compressor [7†L11-L12][8†L13-L14].*
One thing to note: TinyPNG processes images on its servers. For regular web images, that’s fine. But if you’re compressing client photos or sensitive documents, you might want a local option.
Using Squoosh – For Fine-Tuned Control
Squoosh is Google’s open‑source image compressor. It runs entirely in your browser—no uploads, no privacy concerns, no file size limits.
Step 1: Visit squoosh.app.
Step 2: Drop your image onto the page.
Step 3: You’ll see a side‑by‑side view. Original on the left, compressed preview on the right [19†L28-L29].
Step 4: Pick your output format. WebP or AVIF often give you the smallest sizes with great quality. Squoosh supports MozJPEG, OxiPNG, WebP, AVIF, and JPEG XL [19†L21-L22].
Step 5: Adjust the quality slider. Real‑time feedback shows you exactly how much space you’re saving and how the image looks.
Step 6: Click download when you’re happy with the balance.
Squoosh achieved the best quality‑to‑size ratio in the 2026 benchmark—a SSIMULACRA 2 score of 78.4 with 72% size reduction—but it requires manual tuning per image [8†L12-L13]. That trade‑off is worth it when you need pixel‑perfect results.
Using Compresso – Best for Privacy and Batch Processing
If you need to process multiple images and want zero uploads, Compresso is your answer.
Step 1: Open hsaaa.com.
Step 2: Drag and drop as many images as you want. There’s no file size limit, no daily cap, and everything stays in your browser.
Step 3: The tool compresses them instantly—no queue, no waiting for a server halfway across the world.
Step 4: Download all your optimized images at once [7†L27-L31].
*Quick tip: Compresso is excellent for client work, medical images, or any situation where you can’t upload files to third‑party servers [7†L33-L35].*
Quick Comparison: Which Tool Should You Use?
| Tool | Privacy | Batch Limit | Free Limit | Best For |
|---|---|---|---|---|
| TinyPNG | Server upload | 20 files | 500 images/month | Quick, automatic one‑click |
| Squoosh | Browser‑only | One at a time | Unlimited | Fine‑grained control |
| Compresso | Browser‑only | Unlimited | Unlimited | Privacy + batch work |
Tips to Get the Best Results Every Time
Start with WebP or AVIF When Possible
WebP often compresses better than JPEG and PNG while keeping visuals sharp [6†L52-L54]. If a tool lets you convert to WebP as part of compression, take that option. In benchmark tests, Squoosh’s conversion to AVIF alone saved 50%+ over JPEG [7†L25-L26].
Don’t Over‑Compress
Most tools default to quality 70–80. That’s the sweet spot. Dropping to 60 will give you a smaller file but may start to introduce visible artifacts. And honestly, you probably don’t need to go lower than 80 for web use.
Resize Before You Compress
This one’s obvious but overlooked: if your image is 5000×3000 pixels and you only need it to display at 1200×800, resize it first. Smaller dimensions mean dramatically smaller file sizes before compression even starts.
Check Your Before and After
Most good tools give you a preview. Use it. Zoom in on text and fine details to make sure nothing got blurry or discolored.
Frequently Asked Questions
Can you really compress an image online without losing quality?
Yes. Modern tools like TinyPNG, Squoosh, and Compresso remove only unnecessary data that doesn’t affect how the image looks to the human eye. At quality 80% across 10 different tools, benchmark testing found no visible quality loss for standard web use [8†L19-L20].
What’s the best free tool to compress image size online without losing quality?
For automatic one‑click compression: TinyPNG. For fine‑tuned control: Squoosh. For privacy and batch work: Compresso. All three are free and do the job well.
Is it safe to compress images online?
Depends on the tool. Browser‑based tools like Squoosh and Compresso never upload your images—everything stays on your machine. Server‑based tools like TinyPNG do upload your files, but the processing is temporary and for compression only [2†L23-L25]. Pick based on your privacy needs.
How much can I compress without visible quality loss?
At 80% quality, the 2026 benchmark showed an average reduction of 67% across 10 different tools, with no visible quality loss. Go lower than 60% and you’re asking for trouble [8†L7-L8].
Do I need to install any software?
Not at all. All the tools mentioned here run right in your browser. No downloads, no installations, no accounts required.
Wrapping Up
Learning how to compress image size online without losing quality isn’t complicated. Pick a tool—TinyPNG for speed, Squoosh for control, or Compresso for privacy. Upload your image. Adjust the quality if you want to. Download the result. Your website will load faster, your emails will go through, and your storage will thank you.
So go ahead. Drop a big photo into one of these tools right now and see the difference for yourself. It takes ten seconds, and you’ll never look at a huge unoptimized image the same way again.